The Join That Gives Kente Cloth Its Width
A narrow strip can leave a loom with a complete pattern and still be only one part of a wider cloth. The seam shows how the weaver’s work meets a second set of decisions.
In this story 4 sections
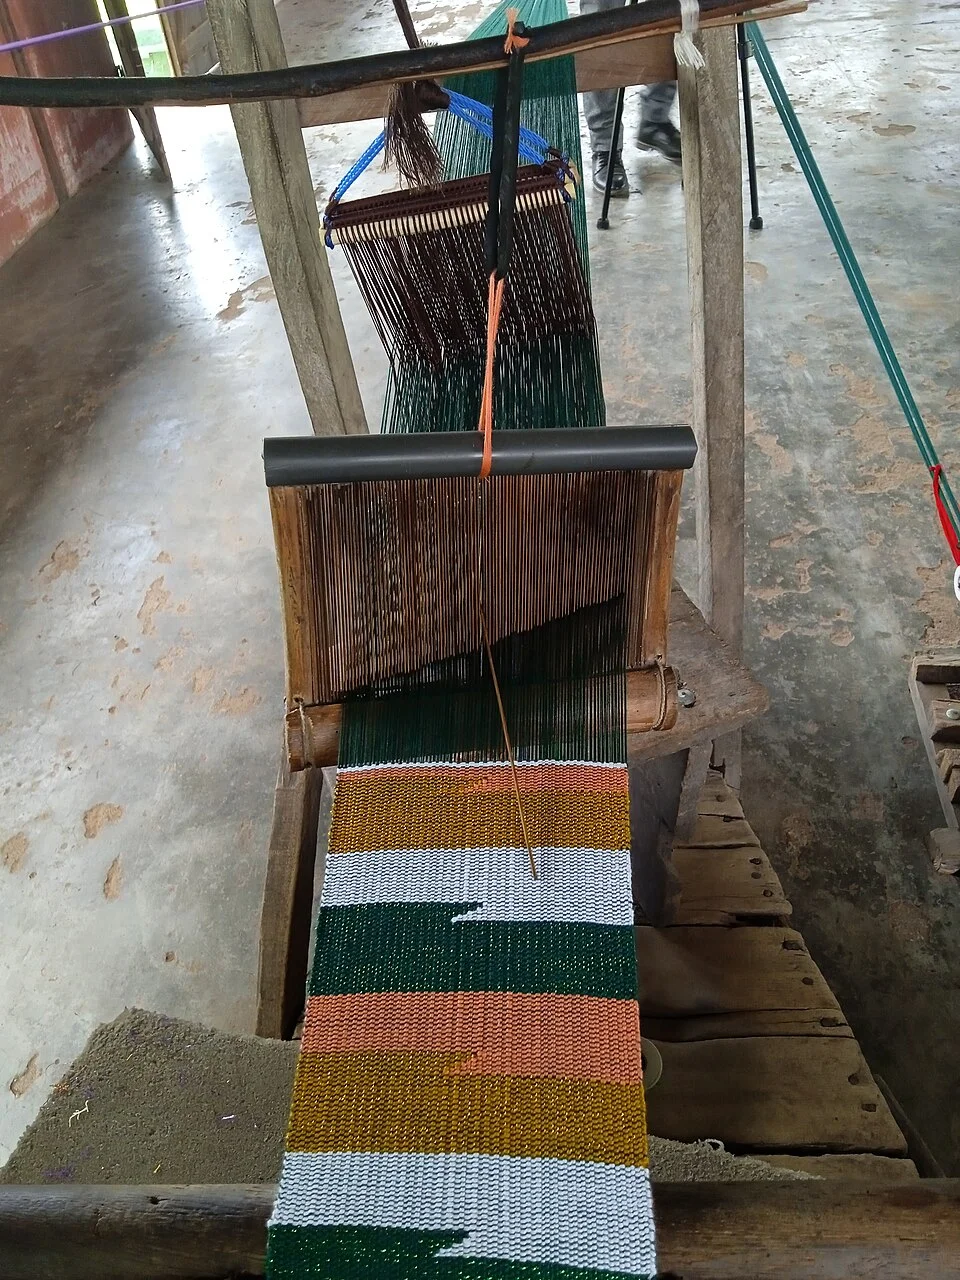
At a loom in Tafi, Ghana, an emerging piece of kente fits comfortably between two hands. The picture of the loom shows a strip running away from the frame in one direction. The museum photographs of finished cloth that often accompany an introduction to kente show something considerably wider. Seams connect those two views. The distance between the hands gives the weaver a workable width. The joined strips give a person enough fabric to wear or wrap around the body. In the space between these dimensions there is a second part of the design that a viewer can learn to see.
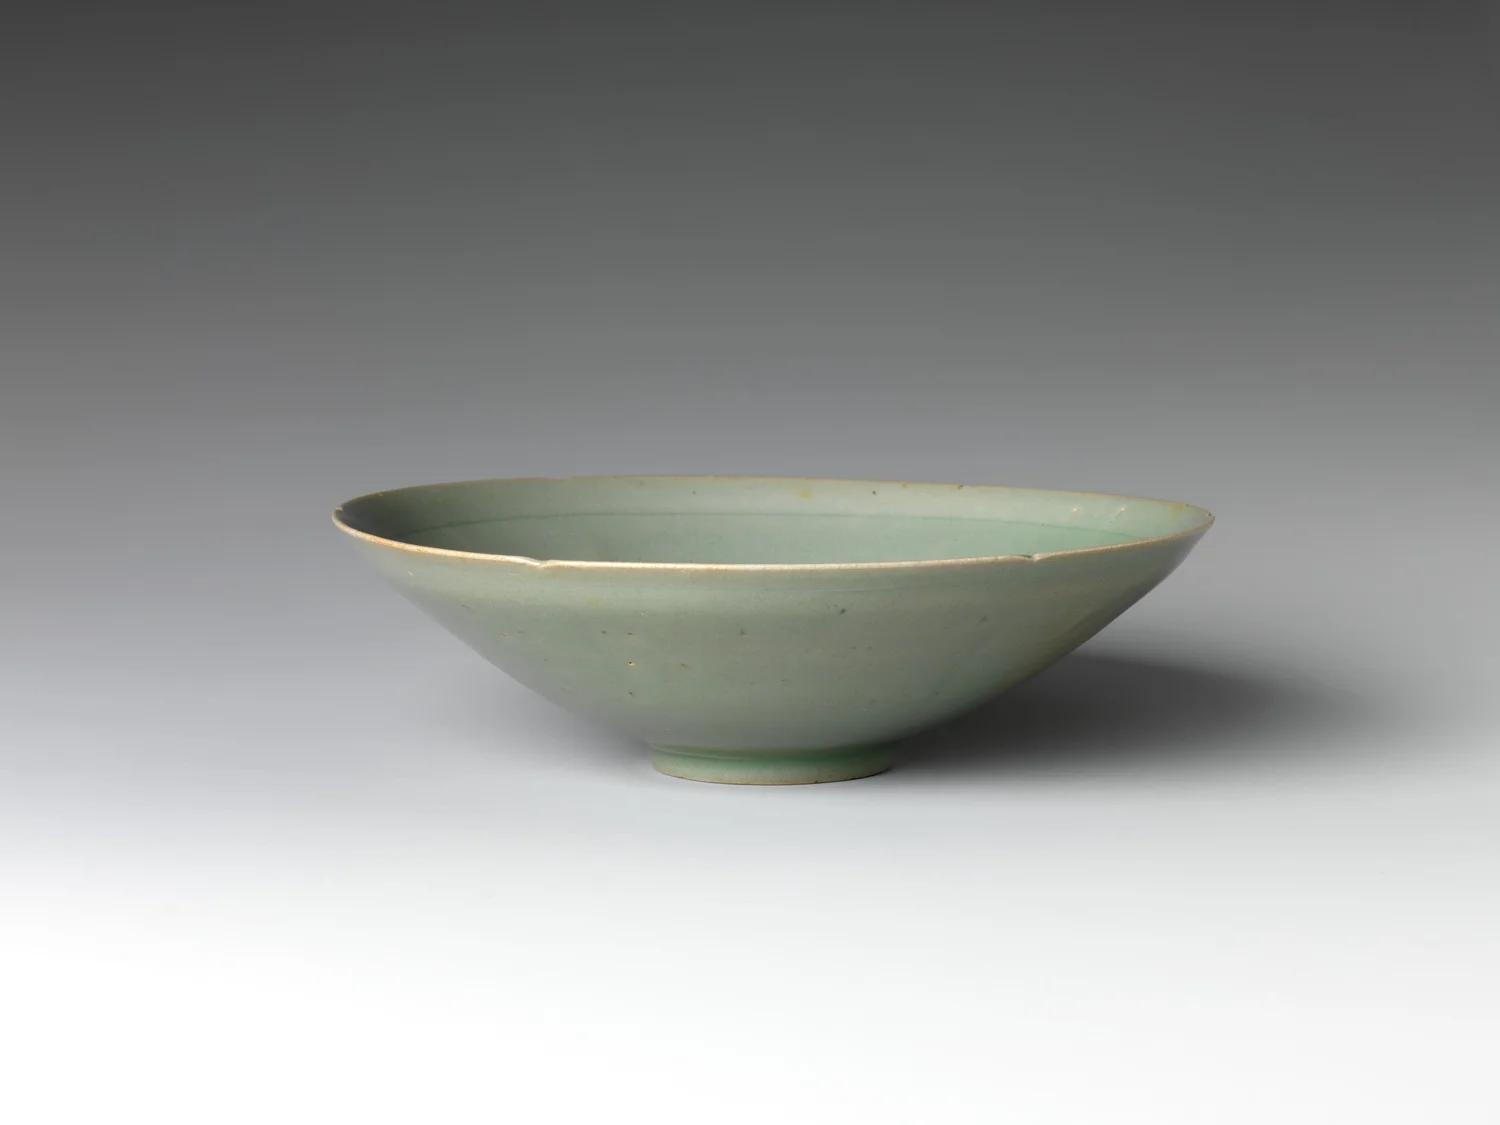
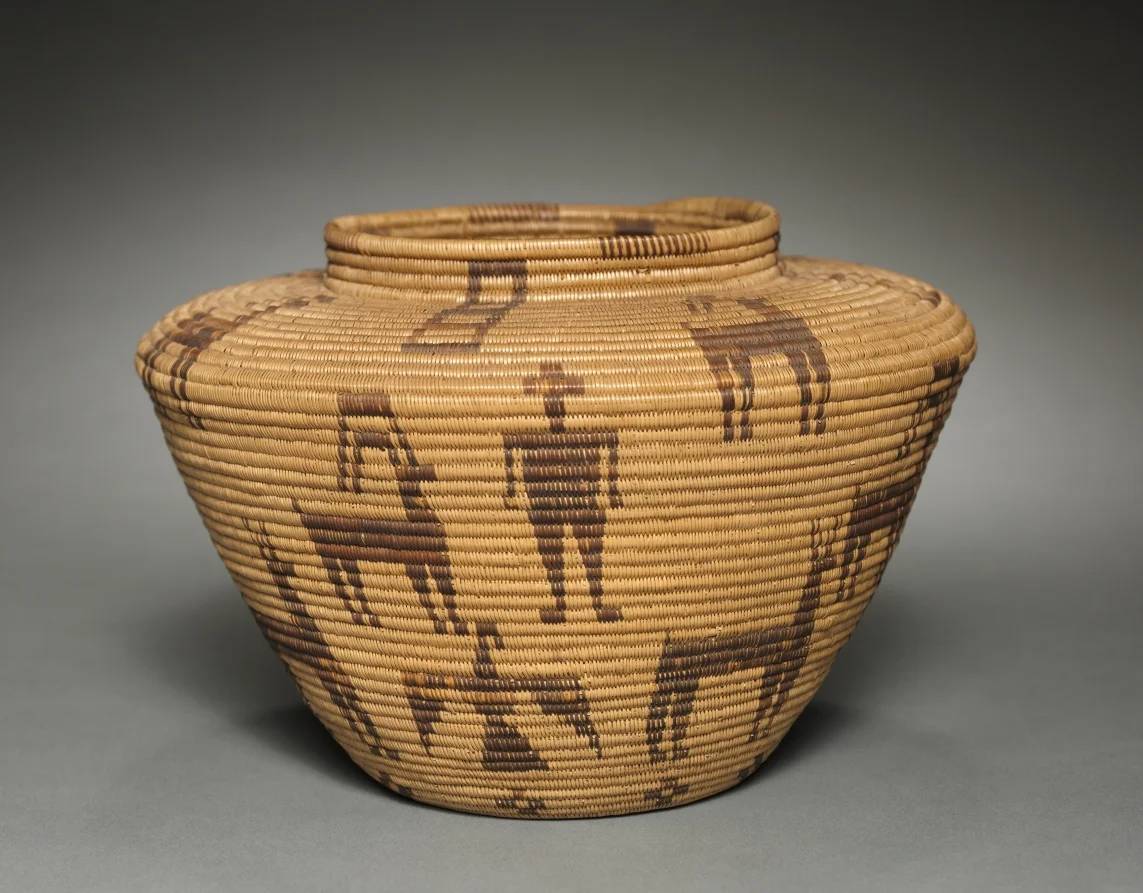
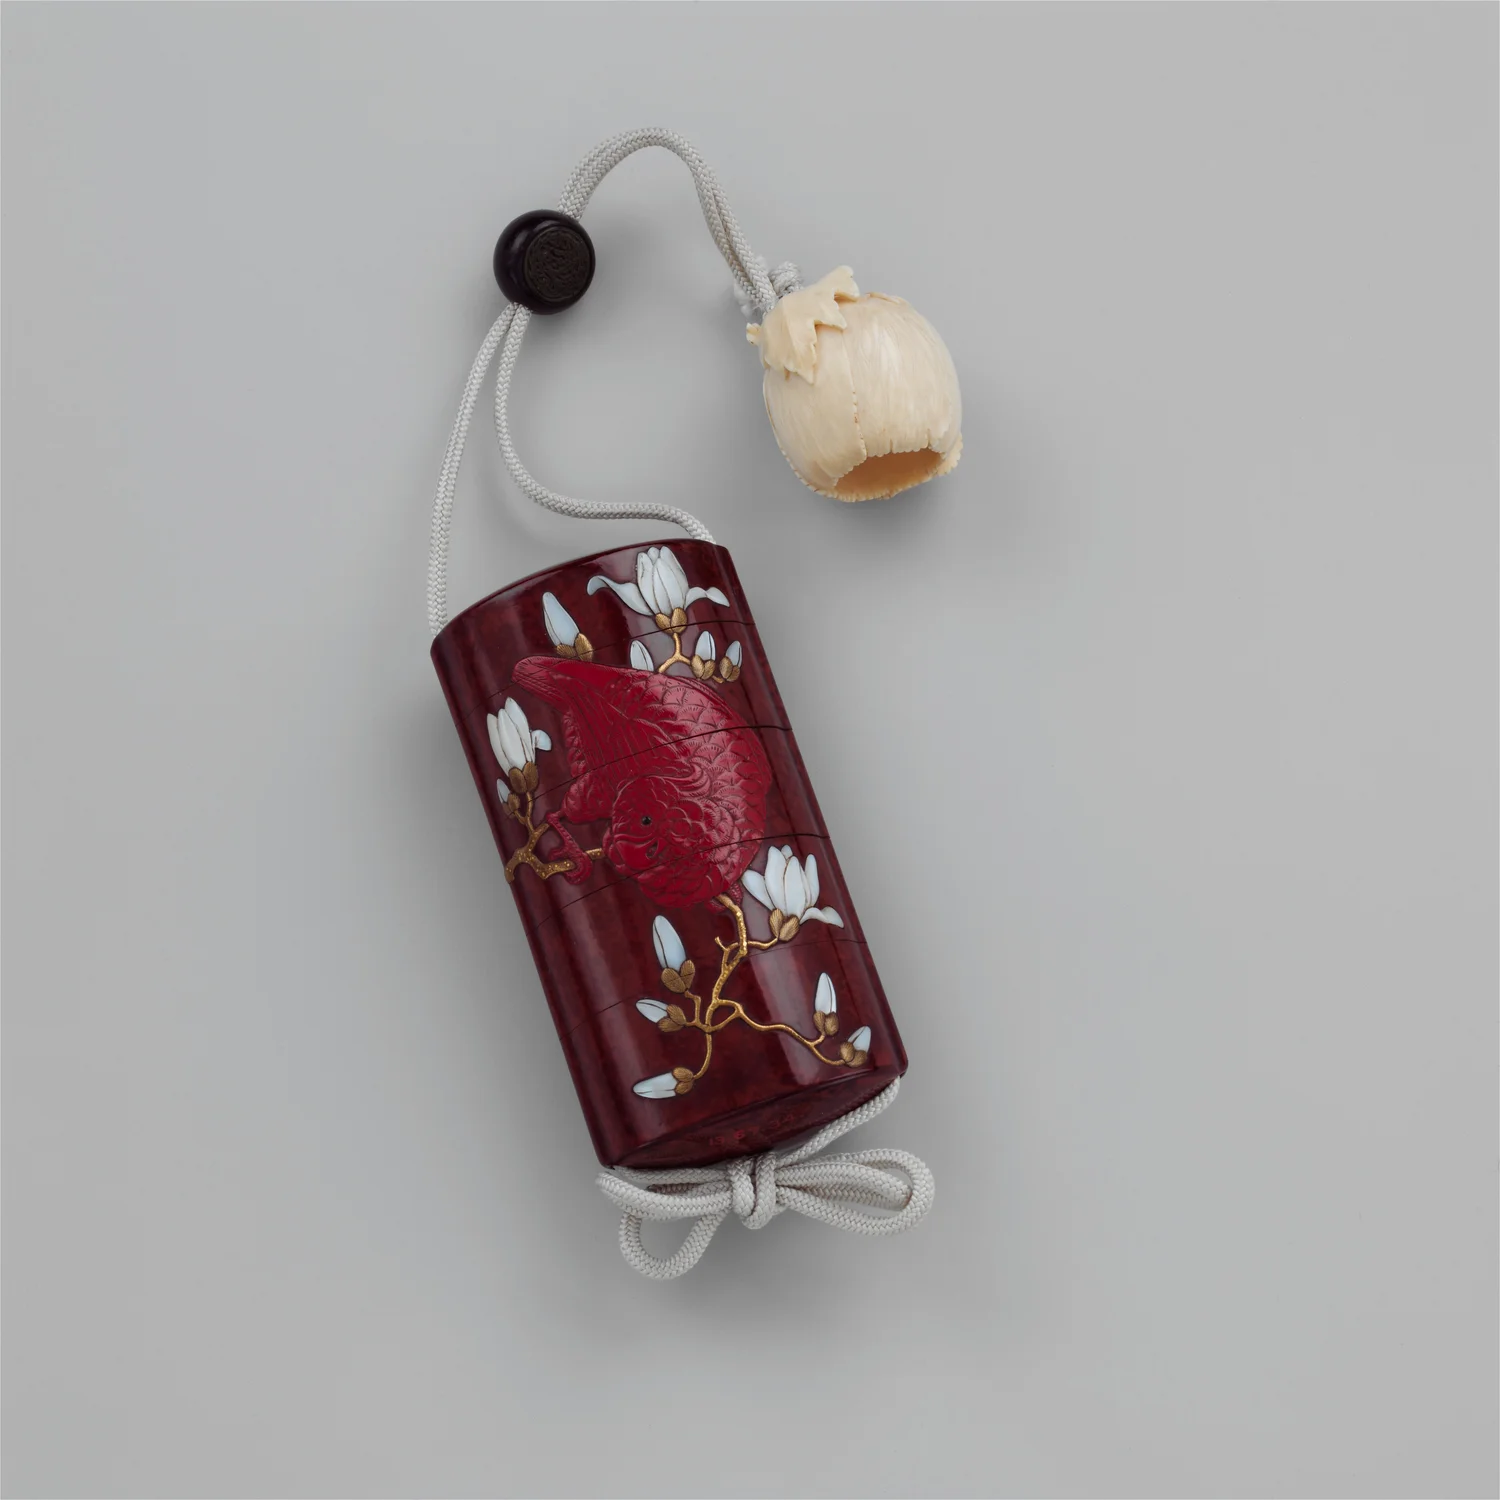
Kente refers to cloth woven in traditions practiced by, among others, Asante and Ewe makers. Collection records can identify a particular object’s attribution, materials, production and use with different degrees of certainty. The loom photograph here records weaving in Tafi. The Met examples linked below are catalogued as Asante or Asante-Akan objects. They offer related evidence about the relationship between a strip and a finished cloth. A source’s description of one place and object deserves to stay attached to it, especially when the finished surfaces vary more than the name alone might suggest.
Recognize the width before the pattern
Begin with a view of a cloth from far enough away to see all four sides. Pick one edge and watch what the internal lines do as they approach it. A seam joining long strips can run a substantial way through the cloth. A shorter change of pattern can occur entirely within one strip. Both lines might be faint at the scale of a large photograph. Try following each one until it ends or meets a larger edge. When the line goes from one end of the textile to the other, inspect where a small motif meets the line. The thread or texture could provide a clue about whether it is a seam or simply a change in the design.
Now put the loom photograph beside the view of the wider cloth. The long threads that pass along the direction of the developing strip are the warp. The crosswise threads introduced across them are the weft. Knowing those names is useful if they help you follow which threads can continue for a long distance and which change as the maker works across the available width. A cloth photograph that makes a checkered pattern prominent can make both directions look interchangeable. At the loom, one group of threads is held in tension and the other is introduced. The asymmetry gives a viewer a way to think about how the design was made.
Consider what happens if two woven strips meet at a seam. The seam can put two similar areas side by side and give the impression of a pattern that crosses both. It can also introduce a deliberate change next to a continuing strip. Details on one side can be slightly out of step with details on the other while making a convincing whole. There can be very different degrees of continuity along and across the joins. A useful sketch separates a motif from the boundaries of the widths on which its parts fall. That helps you ask whether a particular effect depends more upon the weaving or upon placing the strips in relation to one another.
Look for one change of direction
Choose three adjacent strips in a museum photograph and make them wide enough on the screen to distinguish neighbouring thread colours. Look for a repeated patch whose shape has a clear top and bottom, or a short horizontal band that interrupts the surrounding area. Does it occur at the same point on the next strip? Then continue looking toward the end of the piece. A block that aligns early in the cloth can shift relative to its neighbour farther along. That observation is easier to preserve in a plain drawing of bands than in an attempted colour copy of the entire design.
Next imagine turning just one strip end for end. A group of marks that was close to one edge will move toward another. A shape that faced outward might face inward. Some of the textile’s possible movements can therefore be understood without treating each broad rectangle in a finished cloth as independently made. The initial lengths and the assembly give a maker several opportunities to control repetition. Museum records differ in whether they identify every decision taken during assembly. Treat the imagined change as a way to identify what was possible and compare it against what the visible piece shows.
A woven change can be subtle. Two areas with similar overall colours may reflect light differently because the exposed threads change direction, prominence or density. A picture lit straight on can flatten this evidence. Under light from a different direction, a raised detail might stand out and a previous colour contrast might diminish. A museum’s mention of material can be valuable here. Paper and display colours alter the result in reproduction, and a material name is more reliable evidence than trying to identify fibre from brightness in a single small image.
Allow for the body that wears the cloth
On a wall of a gallery, a wide textile invites the eye to move from seam to seam. Worn cloth can put those same parts into folds, turn one region close to the light or bring a distant strip alongside another. The seam that appears to run across the centre of an undisturbed museum view may not be the line most people see at any given moment in a social setting. This difference changes what a pattern needs to achieve. It may be recognized through a small portion visible from one side, with the full arrangement available to the maker or the person holding it open.
An ordinary piece of striped fabric helps illustrate this. Lay it out so all its bands lie in parallel. Then drape it loosely across a chair without stretching it. A fold produces new relationships between colours. A light stripe now faces a source of light or vanishes on a turned edge. Find a place where two horizontal areas appear to meet even though their edges were well apart on the table. The look of draped fabric depends on a collaboration between the design and the position of the textile. A series of similar marks can reappear at distinct places as a person moves.
That is one reason a costume photograph and a collection photograph make good companion objects. The first can show how the garment or cloth fits a person and an occasion. The second often makes proportions and edges easier to inspect. The images can be read together while preserving their origins. An example of prestige cloth in a museum tells you something about a particular sort of use and workmanship. It does not trace all the appearances of kente in present-day life, and a photograph of a present-day workshop gives one moment in a living practice.
Before assigning a name or meaning to a pattern, see whether the object record supports the match. A bright combination seen in another photograph can be a useful starting point for comparison. It is easy to mistake resemblance for identity when the two records give different origins or histories. The form of a strip, a recurring set of colours and where a pattern occurs on the finished cloth can all be described while the wider interpretation remains open. An object’s recorded use or maker can supply stronger evidence than a general dictionary of colour meanings applied out of context.
Step back to the joined cloth
Find a line again that travels through much of a photographed piece. Note the number of strips you can identify confidently and use a question mark for the places where a crease or glare makes them hard to follow. Then choose one short area that changes across the line and record what changes in plain terms. That small account will usually make the piece easier to remember than listing every colour. The combination of continuity and difference makes a large cloth readable at several distances.
The last step is to go back to the picture of the loom. The slight width you see there begins to look generous once you notice what can change within it. The narrow strip establishes one part of the work, and meeting the next strip changes the effect again. From close to the loom, it is possible to anticipate some of what will happen in a finished cloth. The full arrangement still has something to reveal when the seams come into view.
The cover photograph also preserves a useful point of transition. The threads are individually visible where they run toward the loom, then come together in the completed bands nearer the viewer. The edge of one of the white bands changes direction partway through its length. Trace that edge to the side of the strip and you can locate the change without guessing where a seam might lie. Compare it with a turn of colour that crosses an actual join in a photograph of a finished textile. A similar shape can be produced at a different stage of work. Looking for the edges first gives you a way to tell the two cases apart.